Whether you are an avid baker or someone who enjoys baked goods only once in a while, you will face a dirty, greasy oven sometimes. It can be dreadful and difficult to clean a small, limited area with many nooks and crannies. A dirty range can also act as an “out of sight; out of mind” instance. In this case, not only the stove but Oven racks will become increasingly difficult to clean over time. When you finally decide to, you will have a more challenging time making it spotless. The best way to avoid these problems is by cleaning your oven regularly. This article provides some tips on how to do so effectively.
How often to clean an oven?
A few telltale signs that you should clean your oven; if there are visible signs of gunk, your food starts smelling funny, or when smoke arises on using the stove. The latest happens when the grease gets burnt in the heat. If any of these occur, then it’s high time for you to get rid of all those nasty smells and stains from your oven. You may want to consider doing it every week, fortnightly, monthly or even quarterly depending upon what kind of use you give to your oven.
For a regular baker, cleaning your oven thoroughly every few months is necessary for sanitation purposes. And for someone who only uses it a couple of times in a month or two, cleaning a few times thoroughly in a year is just right. There are no rules as to how often you should clean something as it is a matter of appeal. However, you should be aware of the correct way to clean your oven to ensure proper equipment’s proper disinfection and longevity.

What things are needed to clean my oven?
The first thing you need to know about cleaning your oven is whether you’re going to use water-based products or non-water-based ones. Water-based cleaners work well because they don’t leave behind a residue like other types of cleaners might. They tend to dry up quickly too which makes them ideal for quick jobs. But their drawback is that they require frequent rinsing after each application.
Non-water-based cleaners usually contain solvents such as acetone, alcohols, etc., which make them effective at removing stubborn dirt and grime. These cleaners are great for deep cleaning since they penetrate into crevices easily. Their downside is that they take longer to dry than water-based cleaners. So, before choosing one type of product over another, think carefully about the job you’ll be performing. Also, remember that both kinds of cleaners come in different forms: liquid form and spray form.
How to clean your oven?
- You must first switch off the oven and remove its wire from the power socket for safety before the actual cleaning process. Next, make sure that the stove is completely cooled off before beginning to take off its oven racks and lining. It will only increase your work if you hurt yourself.
- After that, remove the thermometer and shelving from the oven- trays, grills, rags, etc and soak them in warm water with a dishwasher to prep them for cleaning later. You can also use a little bit of vinegar to wipe them before soaking them in soap water to make sure the grease comes off easily.
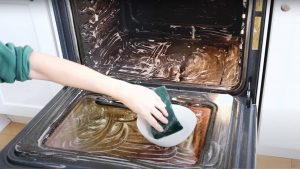
- Now, the main thing to tackle is the inside of the oven itself. First, wipe it inside out with a damp microfiber cloth thoroughly. You can also go ahead and lightly scrub off any light grease and food residue with a scrubbing sponge.
- Next, you can use a plastic or silicone spatula or a metal scraper to scrub off some stubborn debris and residue. This will make sure that the oven cleaner works effectively.
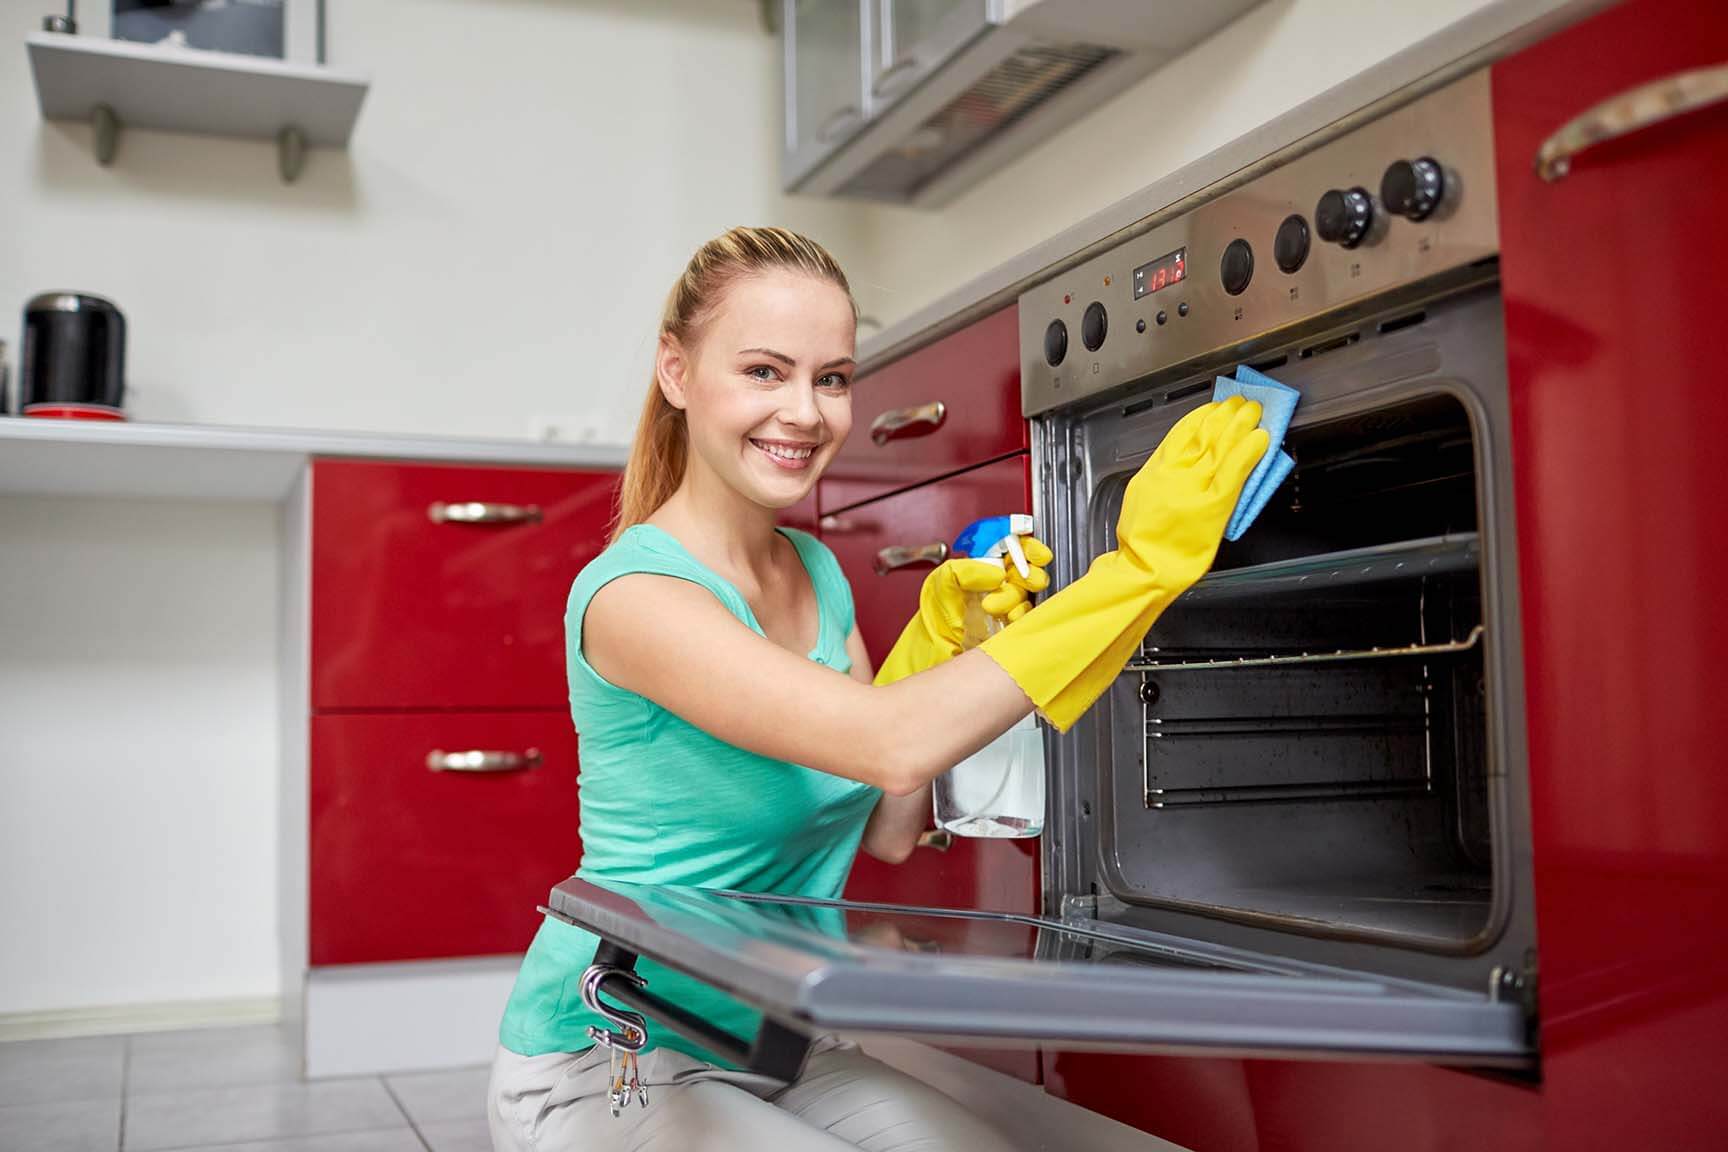
- Read the instructions given on the label of your cleaner carefully. You need to be wearing gloves at all times during this step. For extra safety measures, wear protection glasses and masks to avoid any irritation to the eyes and throat.
- Spray or apply the oven cleaner all over and use a sponge to distribute if needed. Do not ignore the corners of the oven and places that are hard to get. You can use more cleaner on the spots with the worst stains and gunk. Use a decent amount of cleaner and make sure all areas are covered. You don’t have to worry about further measuring the amount of cleaner used.
-
Remember not to apply the cleaner on heating materials as it might damage the oven.
-
- Close the oven door and leave it as is for 30 minutes and let the cleaner do its magic.
- After 30 minutes or so, the cleaner will have loosened the grease stains and debris remarkably. You can use wire sponges or bristle brushes to scrub the insides thoroughly in a circular motion. Make an extra effort in the problematic areas. For corners, you can use an old toothbrush for easy reach.
- After scrubbing the oven all over, start wiping it with a wet sponge. Rinse the sponge as needed to avoid spreading dirt. Wipe as many times as required to get all garbage out and remove the leftover detergent. Be careful so as not to wet the heating or electric areas, as it may damage them.
You can go over and scrub persistent stains again with dishwashing soap or vinegar and a sponge as much as you would like. This further cleans the splatter and also works as a disinfectant. Vinegar will also remove foul smells of the oven and make it as fresh as new.
It is unnecessary to use the cleaner on the oven’s outer parts like the door and the handles. Simple cleaning with soap, water, or stainless steel cleaner will do. But, if it doesn’t, we have a few recipes you can use inside and outside the oven.
How to clean trays and grills of an Oven
After soaking them in warm soapy water for a long time, they will not be much trouble to clean. A simple cleaning brush or a rag will easily clean them. If it doesn’t, you can use a wire sponge to scrub them off as well.
Afterward, wash them with plain water and voila! You got yourself clean and grease-free trays and grills.
How to clean Oven Doors
To clean the glass doors and the oven’s outer surface, you can use glass cleaner and stainless steel cleaner, respectively. They shouldn’t take long and should be considerably more comfortable than cleaning the inside of the oven.
Sometimes, the glass door will have dirt inside them. For that, you can wrap a damp microfiber cloth in a little stick or knife carefully and go in from under the doors. Oven doors will have an opening on them meant specifically to clean the insides of the glass. A plain damp cloth will do, as it will take longer to clean off the soap from within the doors.
For outer exposed parts of the oven, merely cleaning with stainless steel makes it spotless.
Homemade Remedies to clean Oven
Chemicals cleaners work wonders, but they may not always be what you are looking for. Green cleaners that don’t involve brutal chemicals and aren’t as bad for the environment can work well. So, if you are looking for a homemade remedy, we’ve got you covered.
- Mix 4 parts of baking soda and 1 part of vinegar and make a thick paste.
- Add some dishwashing soap if you would like.
- Apply the paste in a generous layer using a sponge or a rag on the insides, close the door shut and wait for 30 – 35 minutes.
- You can also use a thick paste of baking soda and hydrogen peroxide (equal parts) the same way. Its consistency should be like that of peanut butter. It also works very well.
Then follow the same method as mentioned above to clean and scrape the oven in a circular motion and finally wipe it clean with water.
Some tips while cleaning your Oven
- Cover the floor with trash bags or newspaper as the cleaning process gets messy, and you don’t want to dirty or ruin your floor.
- You can easily find scrubbing gloves in any store. It will make it slightly easier to scrub the oven inside or out with your palm than using a rag.
- For extra sticky areas, you can use goo remover that you can easily buy anywhere. Apply it over those spots, leave them on for 5-10 minutes, and then they should scrape right off.
- You don’t always have to brew a chemical potion to clean your oven. For simpler grimes, you can also use a magic eraser. They are made of melamine foam and act as abrasive sandpaper and loosens up grease in the oven.
Aluminum Foil Magic
For this tip, you will need aluminum foils, a bathtub full of hot water, and a dishwasher tablet.
- Cover your trays or racks with aluminum foils, dip them entirely in hot water and place a dishwashing tablet in the water.
- Wait for about two hours, remove the foils and scrub them gently with a magic eraser or sponge.
- That’s it!
- I bet we saved you loads of time with this simple hack.
Pumice Stones for oven cleaning
Pumice stones have been used for beauty purposes to remove dead skin cells for ages. Mainly, they are used to remove dead skin from your foot heels. But, did you know that pumice sticks are also sold for cleaning bathrooms, toilets, barbecues, grills, iron cookware, and to our advantage, for cleaning ovens? They are lightweight volcanic rocks that don’t scratch the surface you are working on and remove grease and gunk with a little glide.
You can easily buy them from any store as “Pumice Scouring Sticks” for a dollar or two; and also off Amazon at the same price. Then, all you have to do is dip it in water and start gently scrubbing your oven either in a round motion or back and forth. You will see results right away. They won’t take long to scrape off the grease, and what’s better; no chemicals are used.
How to operate Self-Cleaning Ovens?
Self-cleaning Ovens have an inbuilt function that, when enabled, turns on the oven heat very high (900-1000 °F) to burn off all grease and residue. This process can be adjusted from 2 to 4 hours, depending upon how dirty an oven is. There are ashes left in the bottom that can be easily wiped off.
Be sure to always remove all the shelving from the oven before turning on the self-clean mode. Also, do not keep anything on top of the equipment as it could melt because of the high heat. This function is a smelly and lengthy process, and your kitchen will be smoky. So, open all windows and leave the kitchen while the oven is cleaning itself.
At last, whether you choose to let the oven clean itself or use chemicals or homemade recipes, now you know how it all works. So, happy cleaning!
